目錄的
-
目錄的
- Antiquitäten & Kunst
- Auto & Motorrad: Fahrzeuge
- Baby
- Bücher
- Camping & Outdoor
- Feinschmecker
- Haustierbedarf
- Heimwerken & Garten
- IT和电子
- Kleidung & Accessoires
- Modellbau
- Musik
- PC- & Videospiele
- Sammeln & Seltenes
- Spielzeug
- TV, Video, DVD
- Telekommunikation
- Uhren & Schmuck
- Wellness & Beauty
- fashion & lifestyle
- institutional food services equipment
- medical equipment, accessories & supplies
- 个人护理
- 休闲爱好
- 办公设备,用品和配件
- 商业与工业
- 家居,建筑,装修
- 家用电器
- 摩托车及配件
- 武器和弹药
- 照相机
- 花园和庭院
- 运动,娱乐及休闲
- 食物
- 高保真音響
Filters
Search
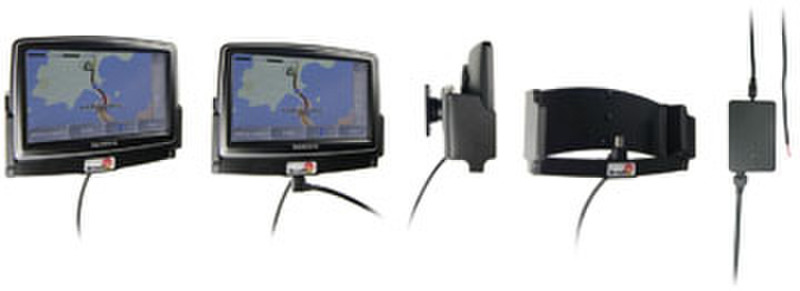
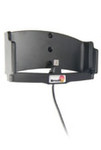
Brodit Holder with Pass-Through Connector navigator mount/holder
凡购买和价格 (Advertising *)
顶部
技术特点
顶部
产品特点
| 类型 | Active |
|---|
Active holder for fixed installation, With tilt swivel, 12/24 Volt
The choice for you want to have charging to your GPS device, as well aswant to have it neatly and securely mounted in the car. With your GPS in an active holder, you will always have a freshly charged battery and your GPS within easy sight and reach! The holder is equipped with a straight cable with open end for fixed installation. The cable is to be connected inside the dashboard, this gives a discreet, neat installation without cables hanging over the interior.
The holder is also equipped with a pass-through connector, so all miniUSB-cables that can be used with the GPS device can also be used with the holder (e.g. a charging or TMC cable). This means you can have both charging and TMC connected to the GPS in the same time! When you have attached the cable to the holder it is firmly in place and you do not have connect it manually to the device each time you put the GPS in the holder.
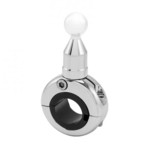
The holder is placed on the dashboard, providing you with an unobstructed view. You can easily take your GPS with you when leaving the car. 12/24 Volt. The product is E-approved. Connect the power cable with a 2 A fuse. 2 A charger. Professional installation recommended. The holder is attached onto a tilt swivel and can be adjusted in order to avoid light reflection. Attach onto a ProClip Mounting Platform.
Please read all of the instructions and look at the pictures before attaching the holder. Important Note: The charger unit is fused internally with 2 A automotive re-settable thermal fuse, but if an external fuse is to be installed then connect a 2 A fuse holder and fuse inline with the Red wire close to the power source. Route the cable from the holder into the vehicle dashboard and secure the charger unit in place with the adhesive tape provided. Ensure the charger unit is securely mounted behind the dashboard in a well ventilated area that does not get hot!
Route the power cable from the charger unit to the power supply source in the vehicle and connect as follows: 1. Connect the Black wire to a Negative Ground connection of the vehicle or the vehicle chassis. 2. Connect the Red wire to a 12/24 Volt power supply in the vehicle that is controlled by the ignition switch of the vehicle.
Installation of the holder: 1. Loosen the screw in the center of the holder so you can remove the tilt swivel attaching plate on the back. 2. Place the attaching plate on desired position. Screw the attaching plate into place with the enclosed screws. Place the holder over the attaching plate so the tilt swivel fits. Screw the holder onto the attaching plate. 3. All cables that fit the device can be attached to the holder. 4. The holder is in place.
類似的優惠
顶部
-
支付方式
我们接受:


