存储介质
| 集成读卡器 |
N |
| 总存储容量 |
8 GB |
| 儲存裝置 |
Flash |
内存参数
| 内置存储器 |
3 GB |
| 内存类型 |
LPDDR3-SDRAM |
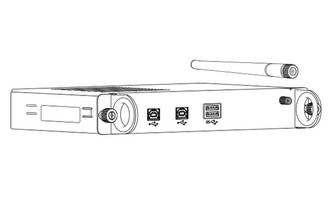
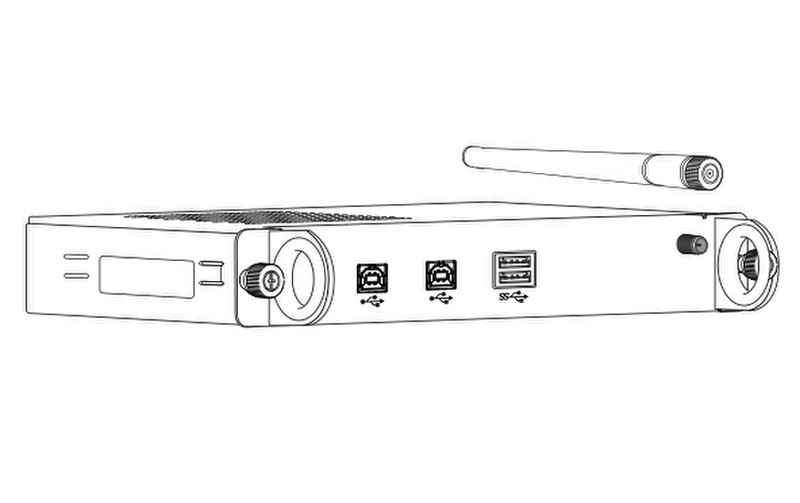
端口 & 界面
| USB 3.0(第 1代3.1)Type-A 端口数量 |
2 |
Qualcomm Snapdragon APQ8074AC, 3 GB LPDDR3, 8 GB eMMC Flash, Bluetooth 4.0, USB 2.0, USB 3.0
Using your SMART kapp iQ™ appliance and SMART Board 6000 or 8000i-G5 series interactive flatpanel,
youcancapture notes and ideas, present information and collaborate with others in simple but powerful ways. Connect a Bluetooth®- enabled mobile device to the interactive flat panel by scanning the Quick Response (QR) code on the screen. When you first connect your mobile device, you’re directed to the
Apple App Store or Google Play™ to download the SMART kapp®app. After installing the app, you can connect to your interactive flat panel and share notes with others. You can write notes in black or red ink
using the provided pens and erase notes with the pens’ erasers or with your palm or fist
<b>Naturally dynamic classrooms</b>
SMART kapp iQ's whiteboard allows writing back-and-forth between the display and any mobile device, making group work and teacher-led instruction more dynamic.
Take snapshots of anything on the display and save them to review or share later. Instead of reviewing furiously scribbled notes, students can review and share the crisp snapshots they've saved.
<b>Walk Up and Use</b>
The display is ready when you are. It turns on when you walk into the room. Simply pick up a pen and start writing.
<b>From device to whiteboard and back again</b>
Invite students to write onto the display from their laptop, tablet or phone. That contribution will simultaneously appear on all other devices in real-time.
<b>The SMART kapp app</b>
Connect one device (Android or iOS) to the display through the app. Now you can invite up to 250 students to follow and contribute to content as it unfolds in real-time, and save it all for later.
<b>Pick up where you left off</b>
Any saved snapshot, whether from kapp iQ and SMART kapp whiteboard, can be loaded onto the display so that you can continue working on ideas from previous classes.
<b>Less Drain on IT</b>
Simply mount the display on the wall or on a floor stand. That's it. Once it's mounted, just walk up and start using it.