Features
| Display aspect ratio |
16:10 |
| Display size (HxV) |
108 x 65 mm |
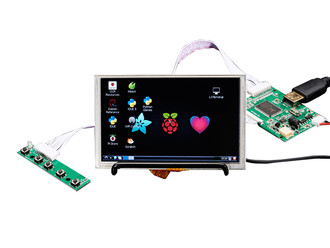
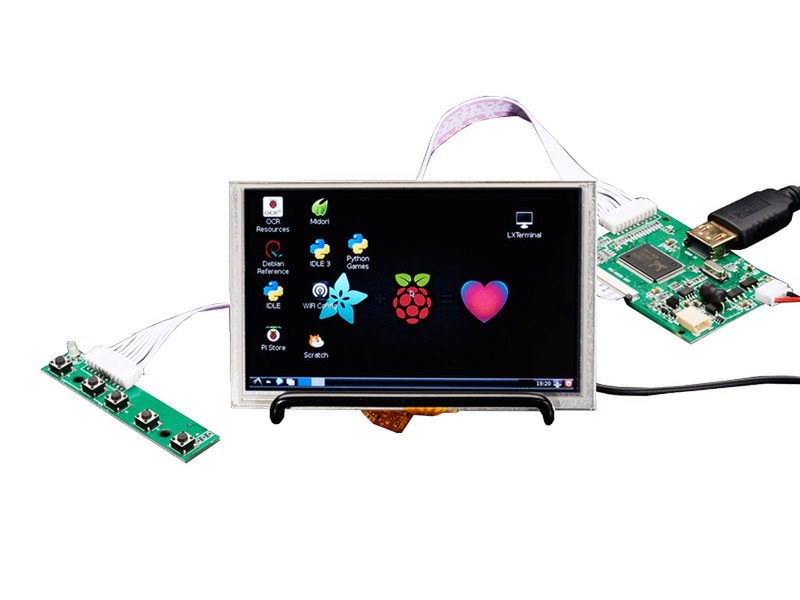
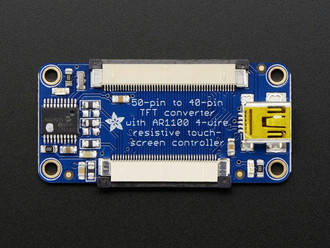
HDMI 4 Pi: 5" Display w/Touch & Mini Driver - 800 x 480 HDMI
Yes, this is a cute little 5" TFT display with WVGA 800x480 resolution and it has a resistive touchscreen overlay. And yes it comes with an equally cute little driver board and USB-enabled 40-pin to 50-pin touchscreen adapter board.
We tried to get the smallest display that would be good for embedded computing usage and at a good price. We also chose our favorite 5" touchscreen then paired it with a small USB powered driver board through our 50pin to 40pin + AR1100 Adapter. The screen itself is commonly seen in consumer electronics such as miniature TVs, GPSs, handheld games, car displays, etc. It comes with a 40-pin connector that has eight red, eight green, and eight blue parallel pins for 24-bit color capability.
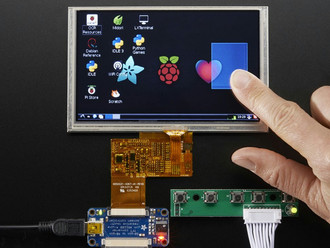
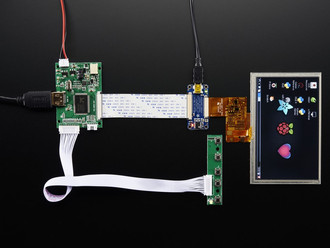
The driver board only has an HDMI input but for Raspberry Pi, BeagleBone Black and other computers. HDMI is the best quality output available so you'll get a great looking display. The display is very easy to use - simply connect the USB power cable to 5V power supply that can provide 500mA, then connect a digital video source to one of the HDMI port. Voila, a display! To demonstrate it, we took some photos with the display connected to a Raspberry Pi, but it will also work connected to any device with HDMI output.
The touchscreen controller shows up as a plain 'HID Mouse' device - and we do the touch screen calibration step here so you can plug and play. Works with any computer, just plug a mini B cable from the touch adapter to the computer USB port. If you want to calibrate it again, Microchip has Windows-only calibration software. For Linux users, check out xinput_calibrator which is the general-use X11 calibration software.
There's a little wired PCB with little buttons that let you enter a menu system for adjusting brightness, color and contrast. It tries to auto-detect which input you have and switches to that one or you can 'select' from the menu keypad which to display.
For use with a Raspberry Pi we suggest editing config.txt to set the HDMI to 800x480 in case it doesn't detect the resolution properly. You can see our suggested config.txt in the Technical details tab. The easiest way to edit the config.txt is to put the Pi SD card into an every day computer and edit config.txt with any text editor and save. For use with a Beagle Bone Black, we found it works when plugged in, no configuration required.