Call management
| Redialing |
Y |
| Caller ID |
Y |
| Explicit call transfer |
Y |
| Speed dialing |
Y |
| Conference call |
Y |
| Call hold |
Y |
Performance
| Microphone frequency |
100 - 11000 Hz |
| Microphone sensitivity |
91 dB |
| Answering machine |
Y |
| Type |
DECT telephone |
Memory
| Phonebook capacity |
100 entries |
Packaging content
| Base station |
Y |
| Number of handsets included |
1 |
| Ethernet cable |
Y |
| Charger |
Y |
Weight & dimensions
| Base dimensions |
180 x 153 x 32 mm |
| Base weight |
302 g |
Management features
| Voice dialing |
Y |
| Management protocols |
IETF SIP, RTCP |
Certificates
| Safety |
CE, EN, IEC, UL, CSA, AS/NZ |
| Electromagnetic compatibility |
FCC, ICES, IC-RSS, EN, C-Tick |
Other features
| Mac compatibility |
N |
| Power over Ethernet (PoE) |
Y |
| Bluetooth version |
2.1+EDR |
Power
| Power supply |
18 W |
| Power supply type |
Optional, input, output |
Additionally
| Output power |
12-15V |
| Wireless connections |
Y |
| Call forwarding capability |
Y |
| Ethernet LAN (RJ-45) ports quantity |
1 |
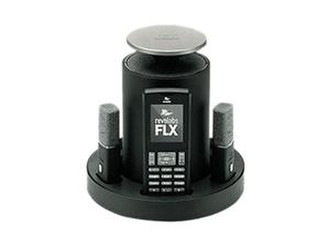
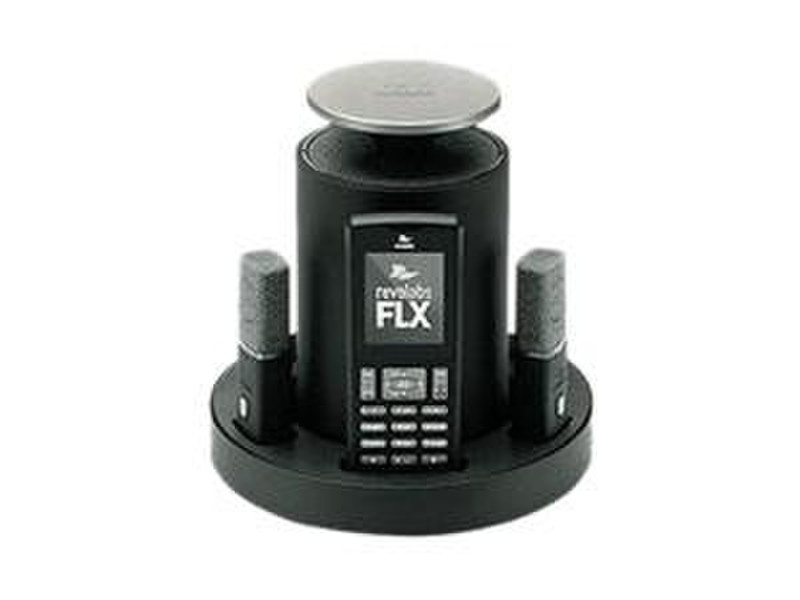
FLX 2 VoIP SIP System w/ two Directional microphones
Congratulations on your purchase of the Revolabs FLX2 Wireless Conference Phone. This system utilizes state of the art technology providing high bandwidth audio and enabling clear, reliable, untethered communications with your telephone, PC, mobile device, and video conferencing system.
The Revolabs FLX2 Conference Phone provides enhanced freedom for telephone and video conferences by allowing independent locations of the microphones and the speaker during the call.
Unpacking
Your Revolabs FLX2TM Conference Phone package contains the following items. When unpacking the
system be sure to take inventory of all parts to ensure that nothing is missing. If parts are missing, please contact your retailer.
Revolabs FLX2 Conference Phone components are partially charged. Please charge the Speaker, the
Microphones, and the Dialer for at least 8 hours or overnight before using the system.
Connecting the Base Station
Place the Base Station close to the Ethernet outlet you want to use for the conference phone. Connect the Base Station to the network using the provided Ethernet cable. The Base Station is powered using Power over Ethernet (PoE). This requires your Ethernet outlet to provide PoE. Please check with your IT department that PoE is available. If the base station does not power up after you connect it to the network outlet, this outlet might not be providing PoE.
If your network does not support PoE, please contact your reseller. Revolabs provides a power injector that can be bought through your reseller, which adds the necessary power to that Ethernet connection.
Connecting the Charger Base
Place the Charger Base at a location where you can easily access the Microphones and the Speaker for your conference calls, e.g. on a side board, a desk, or the conference table.
Connect the Charger Base to the power outlet using the provided 12-15V power supply. Place the Speaker, the Microphones, and the Dialer in the respective openings of the Charger Base to charge them.
The Dialer and Speaker will automatically connect to the Base Station after a short time if it is powered up. You will hear a confirmation chime from the Speaker once the system is ready for use. The Microphones only connect when taking out of the Charger Base, or if the multi-function button is pressed while in the Charger Base. If the Speaker or the Dialer are not powered up, take them out of the Charger Base for a few seconds and put them back in. This will switch on the component.
Connecting to the VoIP PBX
Depending on your switch different settings will be required for your FLX to work in your environment. First of all, the FLX will require an IP address. The IP address can either be obtained from a DHCP server in your network, or be statically set on the phone. The phone is preset to DHCP. If you want to change this, please open the menu on the handset by pressing the right soft key, go to the ‘Setup’ menu, and select ‘Advanced Setup’. You will have to enter a password, which is preset to 7386. Now select ‘Network Settings’. Under ‘IP Settings’ you can set the required network values like IP address, subnet mask, Default Gateway, and DNS servers. You will need to restart the phone for any changes you made in this section to take effect. If you are using DHCP, you can go to the System Info menu, and select About System. The assigned IP address for the FLX will be shown here.
Independent on how the IP address of your system was assigned, the FLX phone has to be configured to work in your VoIP environment, and communicate with your IP PBX. You will have to enable the extension (user) you want to use with the FLX on your switch. Please review your switch documentation on information on how to do that. For the minimal setup, in the FLX Handset you will have to provide information on the IP connection to the telephone switch. To do this visit Setup – Advanced Setup – Network Settings – VOIP Settings. Under Registrar, provide the IP address or host name of your IP PBX. Username should be the extension or name under which you want to register this phone on the IP PBX. In Password, provide the password for this username. If no values are provided for ID and Display Name, the Username entry will be used for them.
Select ‘Reload Settings’ after you have set the values in the handset, which will restart the base.
If further settings are required to connect the FLX phone to your IP PBX, like a Proxy server, please visit the FLX Web Interface. You get to this interface by entering the IP address of the FLX into the web browser of your choice. After you entered the password (7386, unless you changed it in the handset), you can find the SIP settings under the Administrator tab on the top right. You will find the different SIP settings under SIP Registration, SIP Configuration, Transport, and Media. You have to press ‘Save’ an every page where you changed an entry to save these changes. If you do not press ‘Save’, the changes will be lost when you leave that page. Restart the phone once you are finished with your changes.