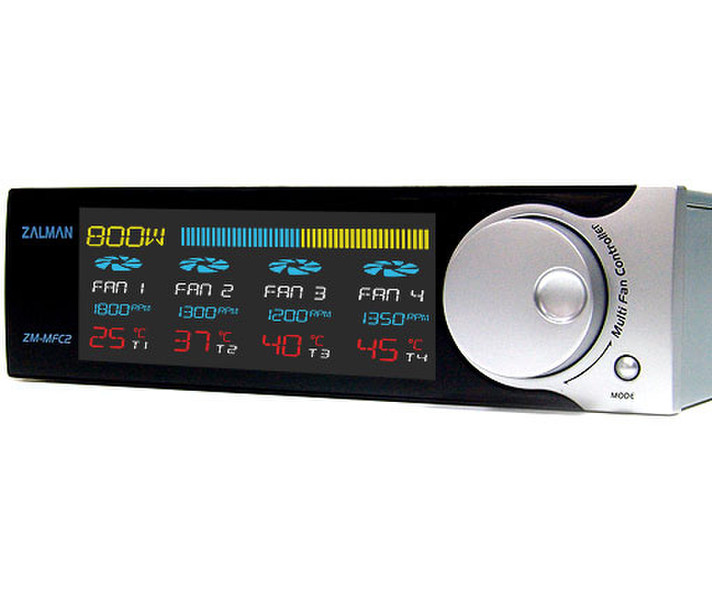
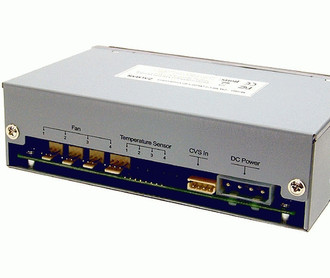
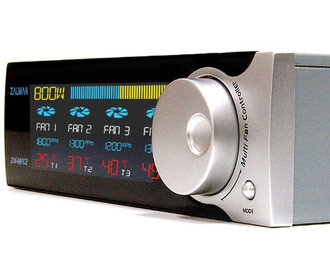
Multi Fan Controller ZM-MFC2
1. Real time display of power consumption.
2. Four sensors for temperature monitoring and display.
3. Monitoring and control of one PWM fan and three standard fans.
4. Alarm system to notify non-operation of any of the fans.
5. Fan’s operation status indicated with animated propeller images.
Operational Guidelines
- Four channels of ZM-MFC2 detect fan RPM signals.
- The Alarm will activate if a fan is not connected or if there is no RPM input signal for any of the channels.
- To deactivate the Alarm, the Stand-By Mode (default setting: ON) of each unused channel must be deactivated.
1. 1. Selecting a Channel/Deactivating Stand-By Mode
(1) Select a channel with the Mode Button (The selected channel will begin to flicker).
(2) Press the Jog Wheel to deactivate the selected channel’s Stand-By Mode. The fan image will turn off.
(3) Deactivate the Stand-By Mode of all unused channels as mentioned above.
Note: Deactivating the Stand-By Mode of all the channels will not deactivate other functions (Channel Output, RPM Display, RPM Setting & Saving etc.)
2. 2. RPM Setting and Saving
(1) Select a channel with the Mode Button.
(2) Set the RPM with the Jog Wheel. (Turning the Jog Wheel in clockwise motion will increase the RPM, and turning it counter-clockwise will decrease the RPM)
(3) Press the Mode Button again to save the set value and to select the next channel.
(If nothing is input for 5 seconds, the ZM-MFC2 will automatically save the latest setting and leave the Setting Mode).
3. 3. Initializing to Default Settings
Press the Mode Button for 3 seconds. (The entire display will be on for 1 second and all fans will be set to 1500 RPM)
Cautionary Notes
1. Plugging in the CVS Cable of the CVS into the motherboard’s USB port may damage the motherboard and CVS.
2. If the current to be measured exceeds 10A (RMS), use a cable or conductor that allows current greater than the current to be measured to flow through it, and always connect protective grounding prior to use of this instrument.